FREE SHIPPING


Adjustablle Binder Presser Bias Foot
Quantity
Adjustablle Binder Presser Bias Foot
Finishing the rough edges is a great way to not only make the fabric look cleaner but also add durability. For jewels with slight curves such as armholes and necklines, bias binding is the right choice.
Learning and mastering bias binding techniques though may take a lot of time and practice. If you are a beginner, you can feel frustrated when you see a messy bias after hours of boring and endless hands and excessive pins.
Sew the perfect tie in no time even if you're a beginner...
Introducing, Foot Presser Bias Binder Adjustable!
HOW THIS HAPPENED
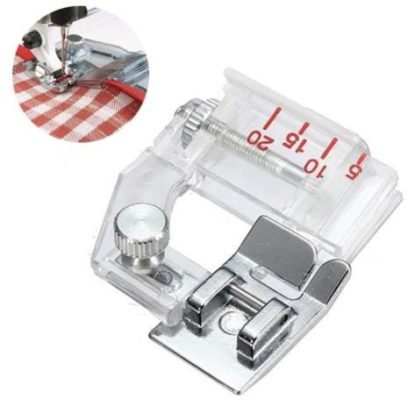
Using this tool is a quick, clean, and easy way to achieve an ELEGANT SOLUTION to a simple craft project. It allows to sew the edges of the garment perfectly with the same stitch effect on both sides. Simply insert the fabric into the binding foot and it will hold and straighten the edges instantly.
DESIGN FOR GREAT SKILLS
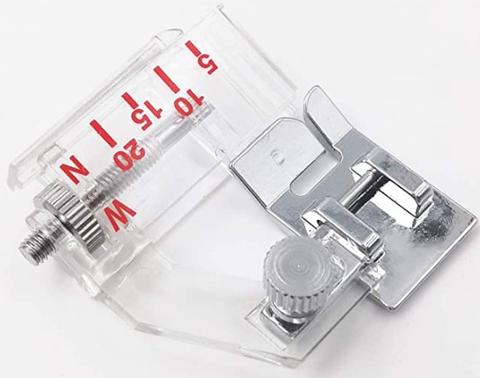
Constructed using translucent plastic so you can easily see the fabric while sewing .
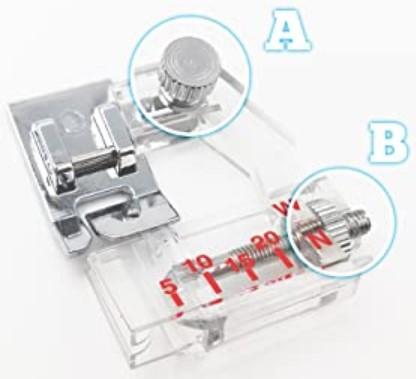
CORRECT SOLUTION SCREW
EASY SNAP-ON INSTALLATION
With the short leg snap system , you can easily insert it into the machine bracket without the need for a screwdriver.
UNIVERSAL FIT
Compatible with low shank snap-on sewing machines including Brother, Singer, Euro-Pro, Babylock, and more.
HIGH QUALITY AND HEAVY DUTY
Made of durable metal and hard plastic that can last a long time and is built to last.
HOW TO USE
- Fold the edges of the fabric.
- Position and insert into the guide groove. Adjust the width as needed.
- Attach the tape bias foot to the presser foot adapter.
- Glue the edge of the fabric and adjust the starting point of the needle on the left side.
- Start sewing.